We’ve been playing the latest release of Minecraft and this time, we tried to enhance our gameplay with a shader pack known as UShader. It isn’t just any pack; it’s a really cool one that we strongly recommend downloading. Why, you ask? Well, it brings some nice and unique features to your world, especially when it comes to color.
The developer RRe36 of UShader, inspired by the legacy of SEUS shaders by Sonic Ether, has done an incredible job. However, users need to temper expectations regarding performance when comparing the two at face value. Due to the introduction of new effects, such as wind effects and dimension support—features absent in the old SEUS version—this new shader pack initially may not outperform Sonic Ether with default settings. But with the right settings, you can surpass its predecessor significantly!
In-Game Tests with UShader
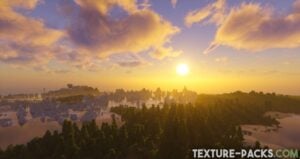
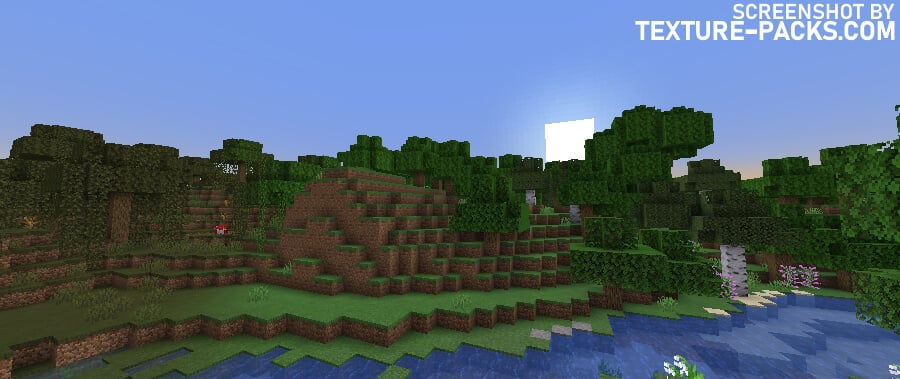
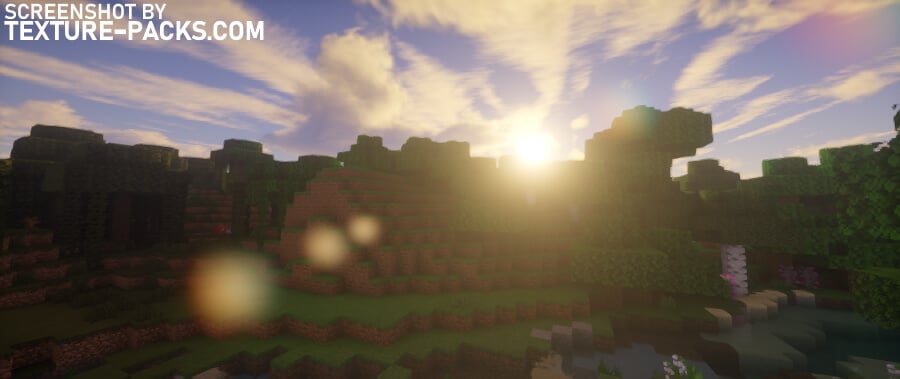
As mentioned earlier, one of the standout aspects of the UShader for Minecraft is its ability to add beautiful color-changing effects. With these new features, your gameplay will look slightly more vibrant and saturated compared to the normal vanilla Minecraft game. It’s like seeing the Minecraft biomes through a new lens, where everything is just more… alive. Whether exploring trial chambers, building your dream mansion, or fighting off hostile mobs, everything looks better with the UShader shaders.
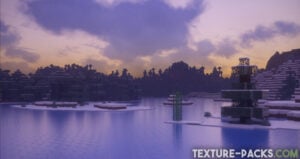
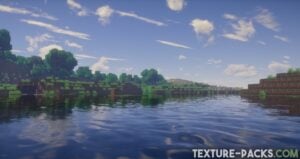
Before we explain how to get the best settings, we would like to tell you about our experiences in the in-game test. We ventured into a regular world to specifically check out the water effects. Water plays a pivotal role in the overall quality of a shader pack; its depiction can be seen as a litmus test for the pack’s quality. The vibrancy, clarity, and reflections of the water immediately caught our eye.
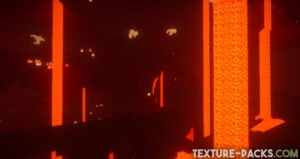
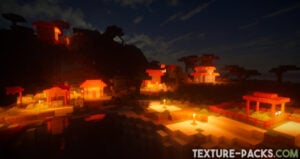
Eager to see more, we created a new world in survival mode on normal difficulty. Upon entering, the difference was clear. The realistic skies and water reflections, combined with the sophisticated shadow play are way better than in Minecraft Vanilla. To witness the specific variations firsthand, utilize our comparison tool located beneath the screenshots. Here, you can personally maneuver the slider and explore all the differences at your own pace.
Best Settings for UShader in Minecraft
The creator of UShader has generously provided options to adjust the saturation, contrast, and vibrance, allowing you to fine-tune everything to your liking. To access these new shader settings, you need to head into Minecraft’s options menu. From there, navigating to the “Video Settings” and clicking on “Shaders” leads you to the promised land of “Shader Settings”.
In our tests, we’ve decided to set our profile to quality, although the UShader pack generously offers other profiles such as default and performance, catering to a wide range of hardware. Enabling the quality setting maximizes all features to their highest level and it’s where the pack truly shines. If you’re operating on a low-end device, you might want to opt for the performance setting instead. This option may reduce the shadow map resolution to 1024, but it ensures the highest FPS in Minecraft.
By the way, the guy behind this project is renowned for creating several popular Minecraft shaders, such as Nostalgia, Vanilla Plus, Kappa, and Potato. He has released even more, though it’s impractical to list them all here. Given his extensive experience, it’s no coincidence that UShader has become yet another remarkable success.
The Magic of Color Grading
What sets UShader apart from other Minecraft shaders is its straightforward approach to color grading. While many shader packs bury their color options in hard-to-find places, the creator RRe36 makes it easy. Simply go to the “Post Processing” section, and there you’ll find “Color-Grading”. By turning on color grading and adjusting the vibrancy and saturation to 1.3, we’ve discovered a setting that gives our game a lush, vibrant look.
Adjusting the color grading settings allows you to change everything from the lush greens of the grass to the vivid blues of the sky. The clouds, too, deserve a special mention. With the UShader mod, they gain a realistic appearance and move gracefully across the Minecraft sky.
We hope you found this review and guide useful. Your thoughts on UShader are important to us, so let us know what you think. Has it changed your Minecraft world as much as it has ours?
UShader was published on February 21, 2020 and is compatible with these Minecraft versions: 1.21.4 – 1.21.3 – 1.21.2 – 1.21.1 – 1.21 – 1.20.6 – 1.20.5 – 1.20.4 – 1.20.3 – 1.20.2 – 1.20.1 – 1.20 – 1.19.4 – 1.19.3 – 1.19.2 – 1.19.1 – 1.19 – 1.18.2 – 1.18.1 – 1.18 – 1.17.1 – 1.17 – 1.16.5 – 1.16
Video & Screenshots

Comparison
How To Install UShader Shaders
- Download the UShader shaders for Minecraft from the file section below. Pick the file that matches your Minecraft edition and version.
- Install Iris or OptiFine. The Iris mod is recommended for better performance with higher FPS.
- Open the Minecraft launcher, and choose the Iris or OptiFine profile you just made.
- Launch Minecraft.
- For Iris: Go to "Options", then "Video Settings", and select "Shader Packs". Next, click on "Open Shader Pack Folder" to access the shaderpacks folder.
For OptiFine: Navigate to "Options", then "Video Settings", and click on "Shaders." Afterward, click on "Shaders Folder" to open the shaderpacks folder. - Move the downloaded ZIP file into this folder (.minecraft\shaderpacks).
- In the game, choose the newly installed pack from the shaders list. If you select a shader pack using Iris, its filename will turn yellow.
- Click "Done" or "Apply" and all new features have been loaded.
UShader Shaders Download
Java Edition:
[1.21.X – 1.16.X] Download UShader

when i drag it to my resource packs it dosent show up
Maybe Manning, you need to drag it the the shaders folder.. It works only with optifine.
Is there a way to download those for End only?
they are very dark but in the daytime they are beautiful