There are some Minecraft shader packs that are not yet popular. One of them is the MakeUp Ultra Fast shaders and we want to change that with this article. The basic settings of the pack remind you of old retro games. Fortunately, there are some adjustment options. Noobs can choose between the profiles low, medium, high, extreme, and a profile with all effects. These profiles are also available without shadows, which improves performance and boosts FPS. You can configure everything in the shader settings. If you are already more experienced, then you can also make individual customizations.
MakeUp Ultra Fast shaders have features that improve these things:
- Shadow
- Skies
- Moving water, leaves, and grass
- Colors
In addition to the mentioned features, the developer has added depth of field. You may already know this effect from cameras or your mobile phone camera. The DOF is the distance between the nearest and the furthest Minecraft block that is in acceptably sharp focus. If you get very close to a Minecraft block, the background will be blurred. Motion blur and volumetric lighting have also been added.
However, the performance suffers under these realistic effects. The depth of field requires a lot of CPU. Low-end laptops and computers are not good enough if you enable all shader features. If you want to play with high FPS, then you’d better deactivate these effects. The easiest way to do that is to choose the low profile.
This shader is compatible with every resource pack. Unfortunately, no POM and PBR are supported. But you only need this if you play with Realistico, ModernArch, or Patrix, for example. By the way, a great POM/PBR shader is ProjectLUMA. The goal of the MakeUp shader is that nobody gets lags with the pack. Overall, the shader can be rated as good. The god rays stood out positively in our tests. You see them when you look directly into the Minecraft sun. The clouds are also impressive.
We got very high and stable FPS with Windows and Linux in our performance tests. MacOS from Apple was not tested, but we used the graphics processors from Intel, AMD, and Nvidia. We assume that you will also get high frame rates with all other devices, with which we did not test the shader. However, the developer specifically points out that it is difficult to program a pack for every hardware and software.
Some of the code is inspired by other developers. For example, enhanced ambient occlusion is based on Capt Tatsu’s ambient occlusion used in BSL shaders. The author XavierFST says, that he has not copied, but has tried to learn, adapt, and modify other people’s ideas in favor of the shader.
MakeUp Ultra Fast was published on December 26, 2020 and is compatible with these Minecraft versions: 1.21.7 – 1.21.6 – 1.21.5 – 1.21.4 – 1.21.3 – 1.21.2 – 1.21.1 – 1.21 – 1.20.6 – 1.20.5 – 1.20.4 – 1.20.3 – 1.20.2 – 1.20.1 – 1.20 – 1.19.4 – 1.19.3 – 1.19.2 – 1.19.1 – 1.19 – 1.18.2 – 1.18.1 – 1.18 – 1.17.1 – 1.17 – 1.16.5 – 1.16 – 1.15.2 – 1.15 – 1.14.4 – 1.14 – 1.13.2 – 1.13 – 1.12.2 – 1.12 – 1.11.2 – 1.11 – 1.10.2 – 1.10 – 1.9.4 – 1.9 – 1.8.9 – 1.8
Video & Screenshots
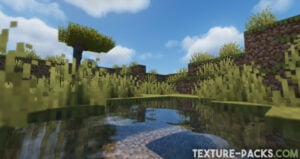
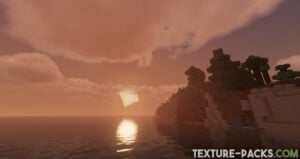
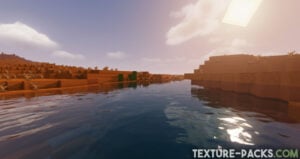
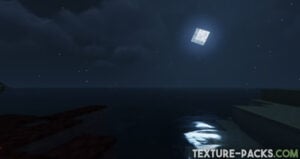

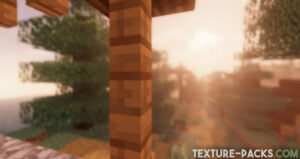
The screenshots show, for example, the animated water. It is crystal clear, moves smoothly, and creates small waves. Sometimes it’s so dark at night that you have to be careful not to drown in-game. The creator has overdone it here with the gloomy graphics effects, but this is a common practice because SEUS Shaders is equally dark at night.
Furthermore, the MakeUp Ultra Fast shaders work smoothly in all Minecraft dimensions. The nether fortresses look scarier because of the better lighting. Also, the end with the ender dragon looks better with this Minecraft shader texture pack. But if you see any glitches, they will be fixed quickly. The developer is very active on this project.
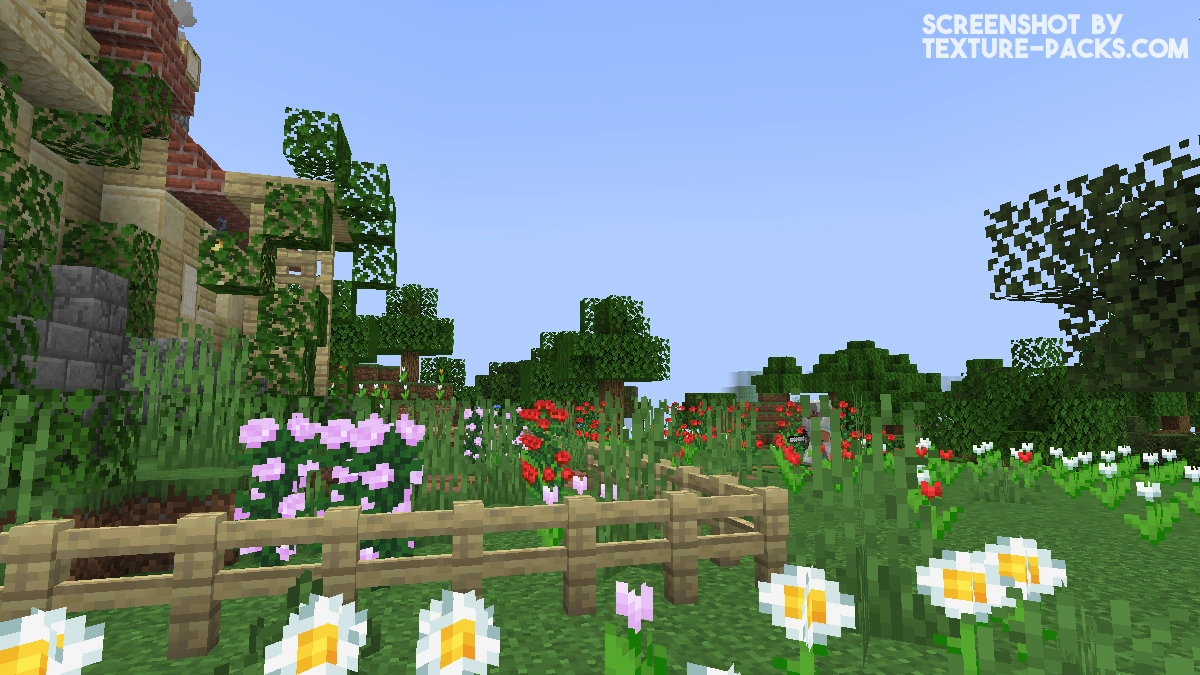
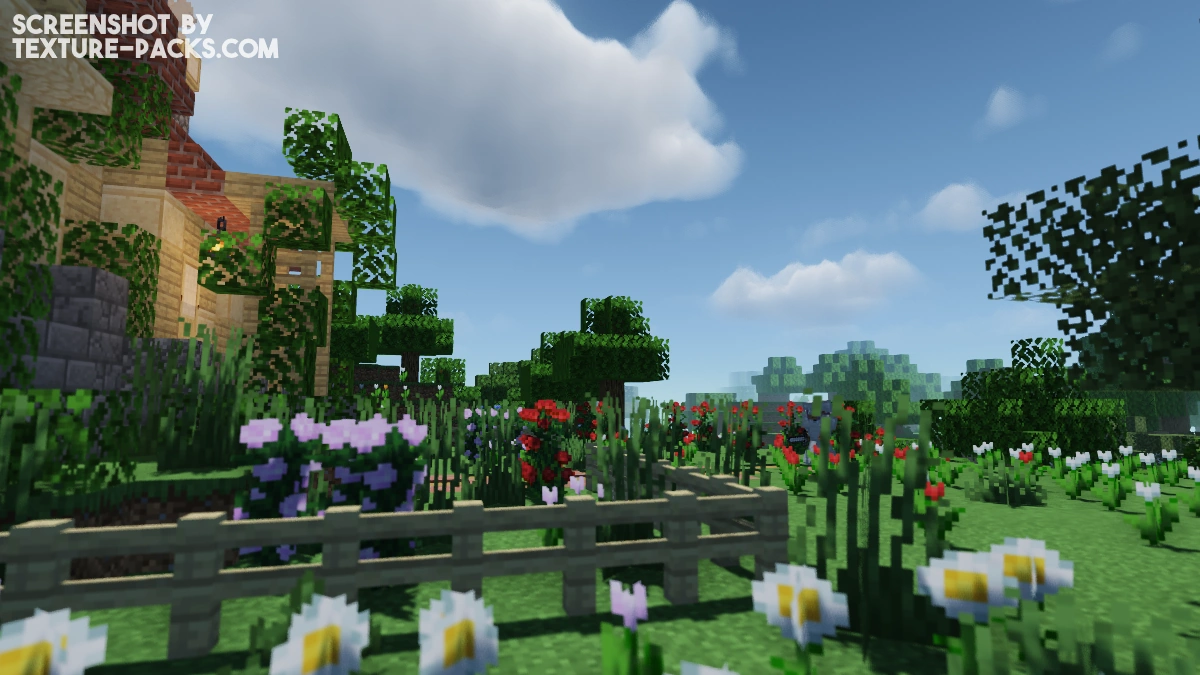
Comparison
How To Install MakeUp Ultra Fast Shaders
- Download the MakeUp Ultra Fast shaders for Minecraft from the file section below. Pick the file that matches your Minecraft edition and version.
- Install Iris or OptiFine. The Iris mod is recommended for better performance with higher FPS.
- Open the Minecraft launcher, and choose the Iris or OptiFine profile you just made.
- Launch Minecraft.
- For Iris: Go to "Options", then "Video Settings", and select "Shader Packs". Next, click on "Open Shader Pack Folder" to access the shaderpacks folder.
For OptiFine: Navigate to "Options", then "Video Settings", and click on "Shaders." Afterward, click on "Shaders Folder" to open the shaderpacks folder. - Move the downloaded ZIP file into this folder (.minecraft\shaderpacks).
- In the game, choose the newly installed pack from the shaders list. If you select a shader pack using Iris, its filename will turn yellow.
- Click "Done" or "Apply" and all new features have been loaded.
MakeUp Ultra Fast Shaders Download
Java Edition:
[1.21.X – 1.12.X] Download MakeUp – Ultra Fast Shaders
[1.16.X – 1.13.X] [Legacy] Download MakeUp – Ultra Fast Shaders

best
best
What are the system requirements?
For me, it’s really bugged and the textures don’t load in
My school blocks things and I can not download the pack. I wish I could
Love the shaders, but I can’t find a way to turn motion blur off for distant blocks when I move. It makes my eyes go funny and I can’t find a way to fix it. Motion blur is turned off and the advanced options for it are both set to the lowest but it’s still happening.
I got with my Intel graphics card 120 FPS. The code is lightweight and works without lags. I tested it in the latest Minecraft version.
Turn on experimental
Bro just buy minecraft cheapskate
I like this shader very much such
I like it
Wow amazing
Well, it’s a very complete and nice shader pack. I tested it in low and extreme quality, and for some strange reason it was the same in performance. By the way, I would have liked some blocks to have reflection.
-My computer uses Windows 11, 8gb ram, i3 11th processor and runs at 3.0.
– I was running Minecraft at 30 fps and it would go up to 50 on any setting, playing at 12 chunks.
Allocate more RAM to your Minecraft version. Begin by opening the launcher and selecting “Installations”. Then, choose the version you want to adjust. When you hover over this version, three dots will appear; click on them and select “More Options”. In the text bar at the very bottom, you will see a ‘2’. Change this to a higher value. However, note that increasing it beyond 4GB will not enhance your performance further, so setting it to a maximum of 4GB is advisable. Additionally, consider using the OptiFine or Sodium clients, as they can significantly boost your FPS. For detailed guidance, I recommend searching for “how to get high fps in Minecraft” on YouTube and watching the video by “Remarkably Optimized”. Following these steps should notably improve your FPS. I hope this advice is helpful.
my shaders wont work, i turn them on but there’s no difference
Wow
Turn on experimental
Please make the shaderpack with PojavLauncher and all other cracked Minecraft launcher compatible