The Chibli texture pack turns Minecraft into a more realistic game while giving it a playful, cartoon-like style. Blocks look like they’ve stepped out of an animated movie. While Chibli offers high-resolution textures, don’t expect photorealism. Instead, it balances detailed visuals with a fun, animated style that stands out from typical packs. The creator Batusai-x behind this pack, also known for Luna HD, is popular for his good work. Both projects have 64×64 versions that are available at no cost, but if you’re looking to unlock 128×128, 256×256, and 512×512, there’s also a premium version available on Patreon. It’s a great way to test out the pack and decide if you’d like to invest in higher resolutions later.
Blocks in the Chibli Texture Pack
When it comes to the Chibli texture pack, the blocks are the star of the show. In this section, we’ll dive into how they look and what makes them so unique. Plus, you’ll find the video and screenshots further down this page once you’re done reading.
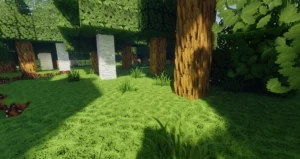
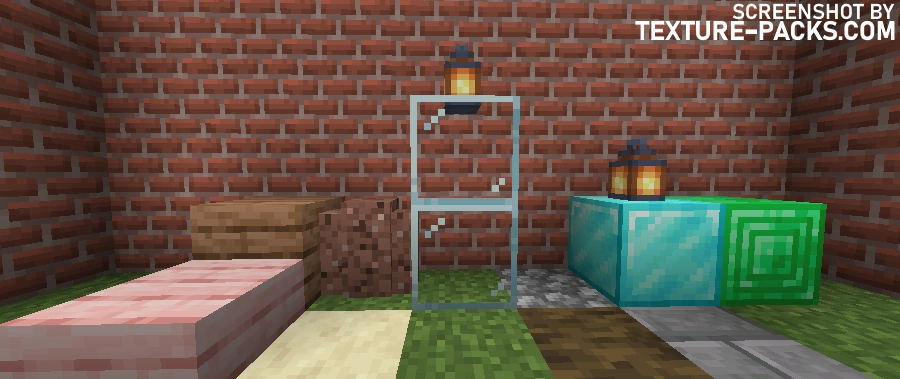
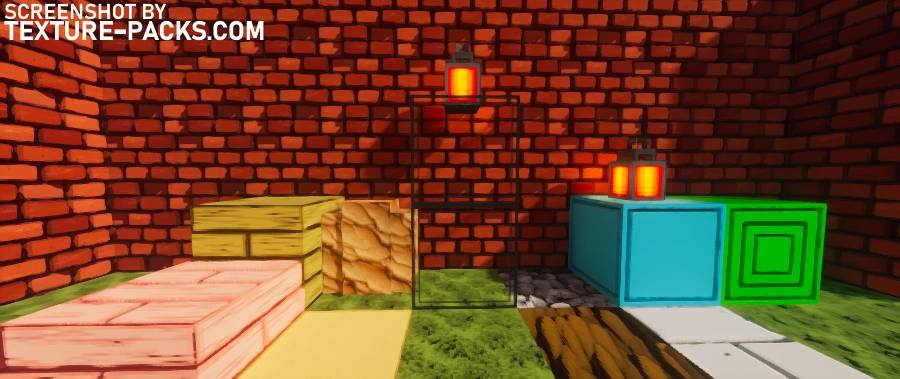
A standout feature of Chibli is its use of 3D blocks, also known as POM (Parallax Occlusion Mapping). This effect gives depth to surfaces, and it’s especially noticeable on wood textures. The bark now appears to be made up of countless tiny ridges that pop out, making forests look completely different from the vanilla game. In fact, if you showed one of the screenshots below to someone unfamiliar with Minecraft, they’d probably never guess it’s from the game. As one Reddit user put it, “It’s like Roblox in Minecraft”.
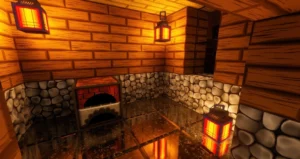
Chibli doesn’t just stop at 3D textures. Some blocks have a polished, reflective surface. You’ll really notice this effect when you place a small lamp on the floor. The light and the ceiling reflect beautifully, creating a visual treat that just doesn’t exist with Minecraft’s default textures. Without amazing creators like Batusai-x behind Chibli, we’d still be stuck with the 2009 graphics.
In-Game Test: Chibli vs. rotrBLOCKS
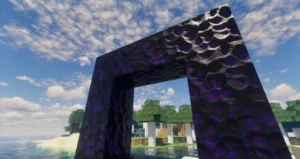
During our in-game test, we noticed that the Nether Portal in the Chibli texture pack shares some similarities with the one in rotrBLOCKS. Both packs feature a highly detailed Obsidian texture with carved patterns. However, Chibli’s version is smoother and less jagged, giving it a more rounded look.
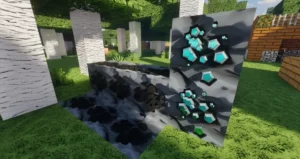
While the obsidian might remind you of other packs, the ores in Chibli are in a league of their own. We’ve tested hundreds of resource packs on our website, and we’ve never seen anything quite like these. The ores don’t look realistic, but they do resemble something straight out of a high-end video game. All the materials are slick and smooth, perfectly complementing the surrounding stone blocks found in caves.
If you’re having trouble finding Netherite or Diamonds, we recommend trying the XRay texture pack. While it’s not about realism, it’s incredibly useful for quickly spotting ores around you. You can even switch between Chibli and XRay, using XRay when you’re deep in large caves and need a resource boost.
A Promising Alternative
Overall, the Chibli texture pack offers a new alternative to more well-known packs with a similar style. However, it’s still in development, and only time will tell how popular it becomes. If the developer puts in as much effort as he did with Luna HD, it’s bound to be a success.
As a fun fact: the name “Chibli” is a mashup of Chibi, which means “small” in Japanese, and Ghibli, a famous Japanese animation studio known for its anime films. Share that tidbit with your friends while showing off your new texture pack. But first, go ahead and click that download button to get started!
Chibli was published on July 15, 2024 and is compatible with these Minecraft versions: 1.21.6 – 1.21.5 – 1.21.4 – 1.21.3 – 1.21.2 – 1.21.1 – 1.21
- ✔️ 3D
- ✔️ HD
- ✔️ POM / PBR
Screenshots
Comparison
How To Install Chibli Texture Pack
- To use all the cool features in this pack, download and install OptiFine.
- Download the Chibli texture pack for Minecraft from the file section below. Pick the file that matches your Minecraft edition and version.
- Launch Minecraft.
- Click "Options" on the main menu.
- In the options, go to the submenu “Resource Packs”.
- Click "Open Pack Folder" at the bottom left to see a folder titled "resourcepacks".
- Put the downloaded ZIP file into your "resourcepacks" folder. Or, just drag and drop it into the Minecraft window to add the pack.
- You will see the pack on the left side of the resource pack selection menu. Unzip the file if you can't see the pack.
- Hover over the pack thumbnail and click the arrow pointing right. If the game notifies you that the pack is made for a newer or older Minecraft version, simply click “Yes” to proceed. The textures will still work perfectly.
- Click "Done" and all assets have been loaded.
Chibli Texture Pack Settings
To ensure that the Chibli texture pack looks as amazing as intended, you’ll need to install and configure the Kappa shaders correctly. These shaders are crucial for enabling the POM/3D blocks and adding hundreds of visual improvements. Without them, you’ll quickly notice how essential they are to fully experience the pack.
Before diving into the shader settings, we recommend setting your Render Distance to a maximum of 12 Chunks in the game settings. This reduces the number of chunks loaded at once, which results in higher FPS. Especially with shaders, optimizing performance is key.
Recommended Kappa Shader Settings for Chibli
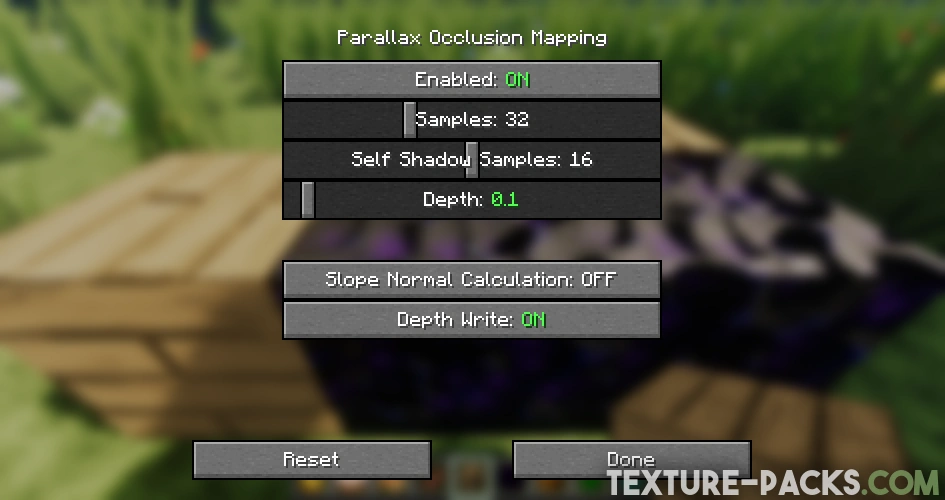
Now, let’s get to the optimal shader settings for Chibli. Start by opening the Shader Options and navigating to the Terrain section. To achieve the best results, follow these settings:
- Enabled: On
- Samples: 32
- Self Shadow Samples: 16
- Depth: 0.1
- Slope Normal Calculation: Off
- Depth Write: On

I think Luna HD is better because there are more blocks included