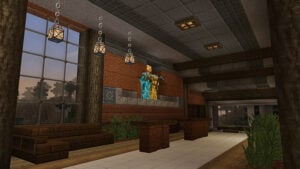
SCtester has been creating textures for Minecraft since he was around 12 years old. His passion for enhancing the game’s visuals has resulted in the Clarity texture pack. Released in 2018, Clarity has some great features. One of them is the revamped GUI (Graphical User Interface). The menus, buttons, title, and title screen background have all been given a cleaner, more modern look, making navigating through Minecraft’s various options and settings a breeze.
The increased font resolution also makes reading in-game chat much easier on the eyes, improving the overall user experience together with the 32x resolution. This new level of detail strikes a good balance between realism and traditionalism, with extreme attention to pixel perfection. Despite the increased resolution, even low-powered hardware should have no issues running the Clarity textures, as long as your setup can handle vanilla Minecraft without lags.
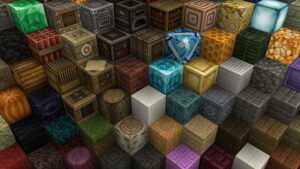
All blocks are designed to be more distinguishable. Overall, Clarity focuses on significant brightness, achieved through bright color tones. While there are also some darker items, they blend well with the lighter ones to create a visually appealing gradient.
Another amazing feature of the Clarity resource pack is its custom sky overlay with realistic clouds. However, it’s important to note that for the custom clouds to work, you must have OptiFine or an equivalent mod installed if you play the PC edition. You also have the option to turn off the custom sky feature if you experience issues with it or prefer the default Minecraft sky.
Furthermore, Clarity is so popular that it was released on the official Minecraft Marketplace by Pathway Studios, a well-known Minecraft partner. Pathway Studios has also published other content, such as Legendary, Jicklus, and Wanderlust. Regular updates and snapshots will be added to keep the texture pack up to date with future Minecraft updates.
Clarity was published on July 14, 2018 and is compatible with these Minecraft versions: 1.21.5 – 1.21.4 – 1.21.3 – 1.21.2 – 1.21.1 – 1.21 – 1.20.6 – 1.20.5 – 1.20.4 – 1.20.3 – 1.20.2 – 1.20.1 – 1.20 – 1.19.4 – 1.19.3 – 1.19.2 – 1.19.1 – 1.19 – 1.18.2 – 1.18.1 – 1.18 – 1.17.1 – 1.17 – 1.16.5 – 1.16.4 – 1.16.3 – 1.16 – 1.15.2 – 1.15 – 1.14.4 – 1.14 – 1.13.2 – 1.13 – 1.12.2 – 1.12 – 1.11.2 – 1.11
- ✔️ Custom Sky
Video & Screenshots
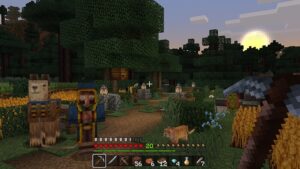
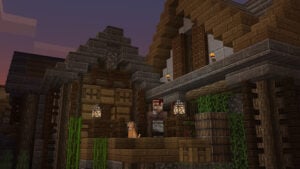
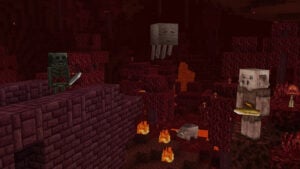
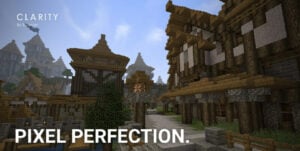
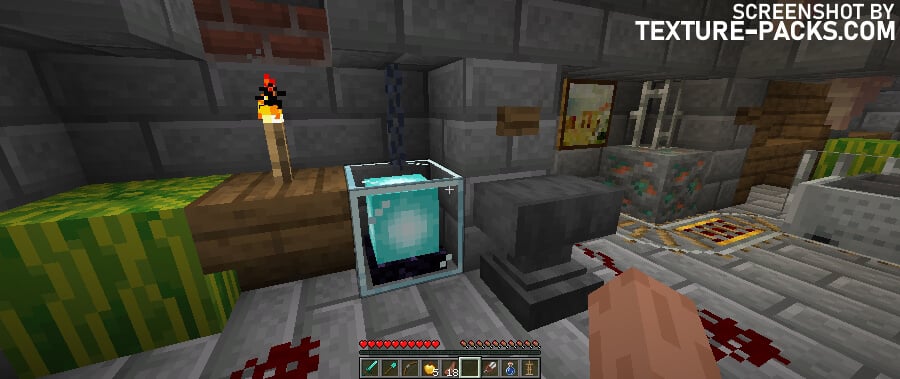
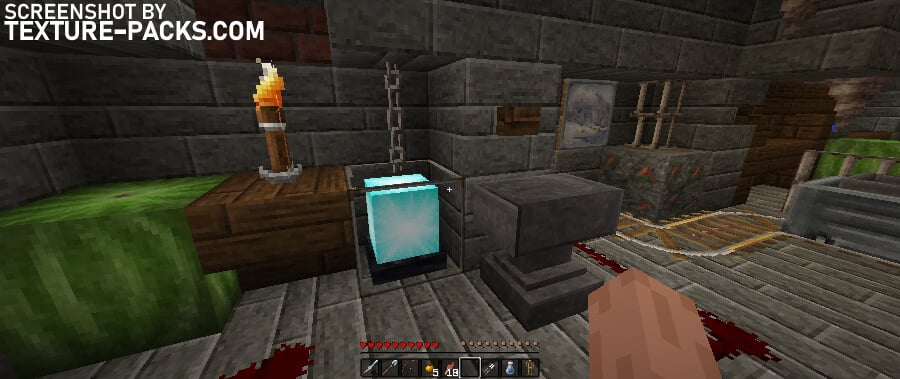
Comparison
How To Install Clarity Texture Pack
- To use all the cool features in this pack, download and install OptiFine.
- Download the Clarity texture pack for Minecraft from the file section below. Pick the file that matches your Minecraft edition and version.
- Launch Minecraft.
- Click "Options" on the main menu.
- In the options, go to the submenu “Resource Packs”.
- Click "Open Pack Folder" at the bottom left to see a folder titled "resourcepacks".
- Put the downloaded ZIP file into your "resourcepacks" folder. Or, just drag and drop it into the Minecraft window to add the pack.
- You will see the pack on the left side of the resource pack selection menu. Unzip the file if you can't see the pack.
- Hover over the pack thumbnail and click the arrow pointing right. If the game notifies you that the pack is made for a newer or older Minecraft version, simply click “Yes” to proceed. The textures will still work perfectly.
- Click "Done" and all assets have been loaded.
Clarity Texture Pack Download
Java Edition:
[32x] [1.21.X] Download Clarity Texture Pack
[32x] [1.20.X] Download Clarity Texture Pack
[32x] [1.19.X] Download Clarity Texture Pack
[32x] [1.18.X] Download Clarity Texture Pack
[32x] [1.17.X] Download Clarity Texture Pack
[32x] [1.16.X] Download Clarity Texture Pack
[32x] [1.15.X – 1.13.X] Download Clarity Texture Pack
[32x] [1.12.X – 1.11.X] Download Clarity Texture Pack

glizzy
wtf