As experts in the field of Minecraft modifications, we tell you everything about the Insanity shaders, the best features, and their impact on FPS. Combining technical analysis with personal experience, we provide a detailed insight into the Insanity shaders for Minecraft. Playing the game with this pack is a distinct adventure. The darkness and creepy effects are challenging, as visibility is reduced and the world feels more menacing.
What sets Insanity shaders apart is their highly customizable nature, building on the foundations laid by BSL shaders by CaptTatsu. Players have the liberty to tweak the settings to their liking, pushing the visual boundaries far beyond BSL’s limits. Whether it’s adjusting the reflections or coloring, these shaders put control in the players’ hands.
What are the Insanity Shaders?
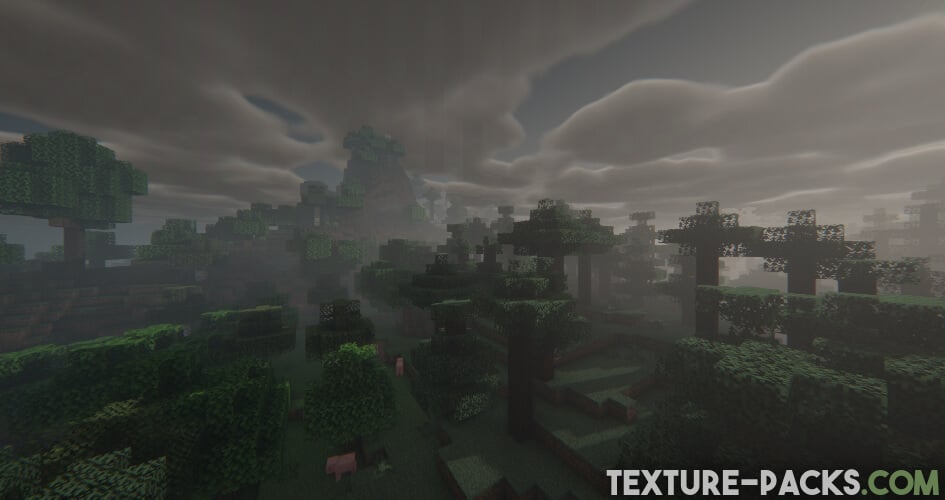
The pack adds horror-style visuals to Minecraft, significantly changing the classic gameplay. These shaders are popular for the addition of darkness and mystery, making the game not just about survival and building, but also about exploring your Minecraft world that feels entirely different. We think the shadows are deeper, the light is more atmospheric, and the overall effect is one of being in a horror movie. These changes aren’t just for effect; they transform your Minecraft experience, making familiar settings feel new and unexplored. By the way, the Insanity shader pack aligns perfectly with the Halloween spirit, complementing Halloween texture packs to create a spooky Minecraft world that captures the essence of the season.
Familiar Biomes in Horror-Style
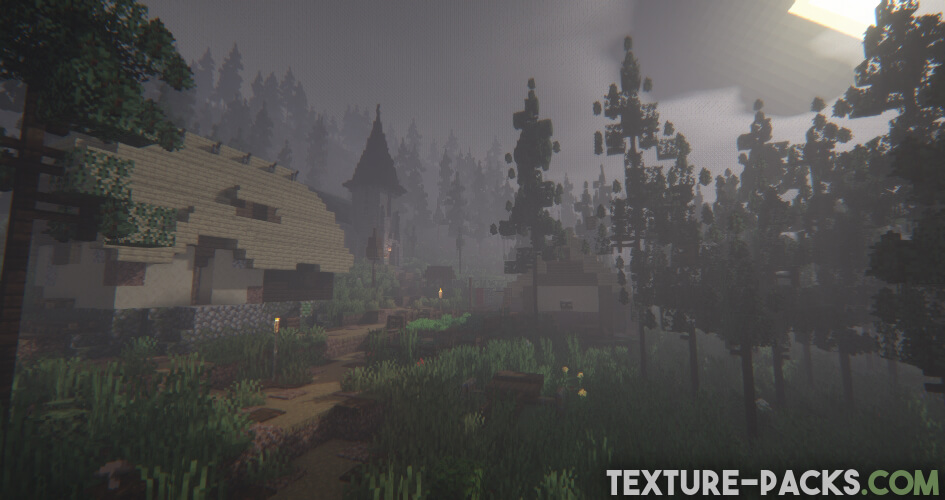
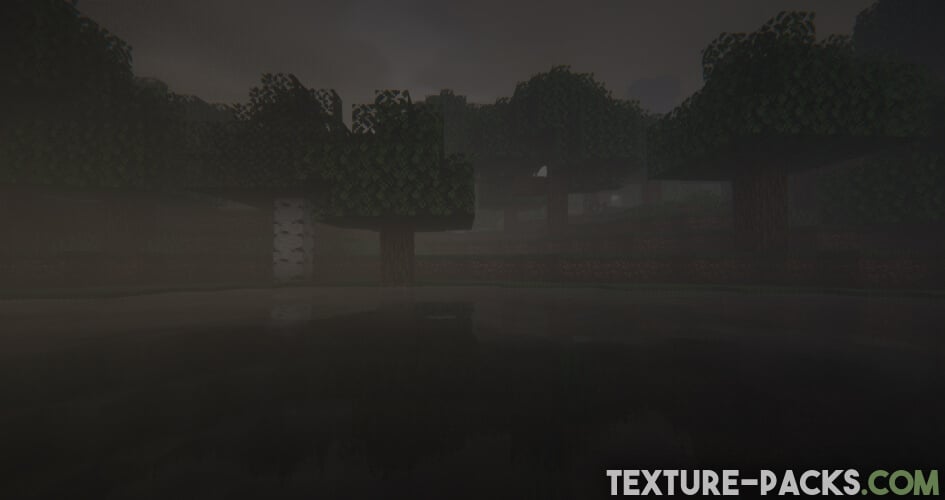
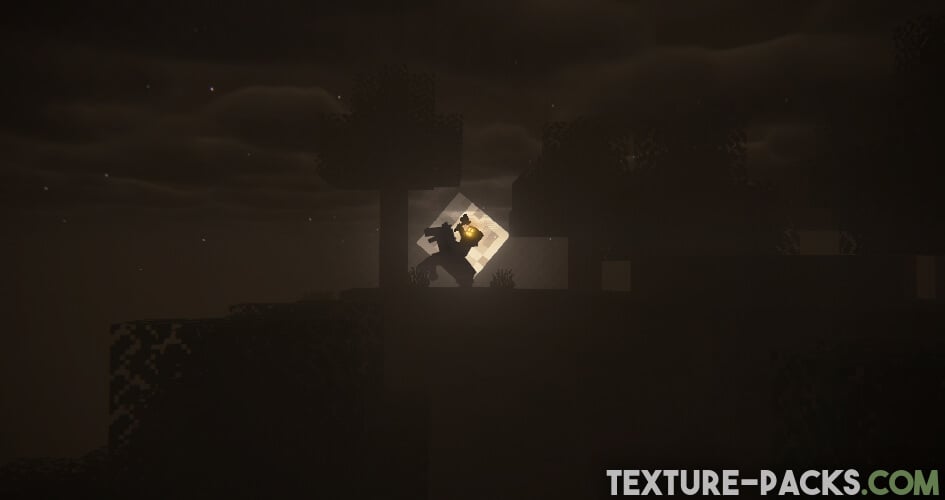
The eerie, horror-style aesthetic brought about by Insanity shaders transforms familiar biomes into uncharted territories of mystery and intrigue. For instance, forests become denser and more foreboding, with shadows that seem to hide untold threats. In our tests, the shaders’ effects on lighting make the night and dark areas especially menacing.
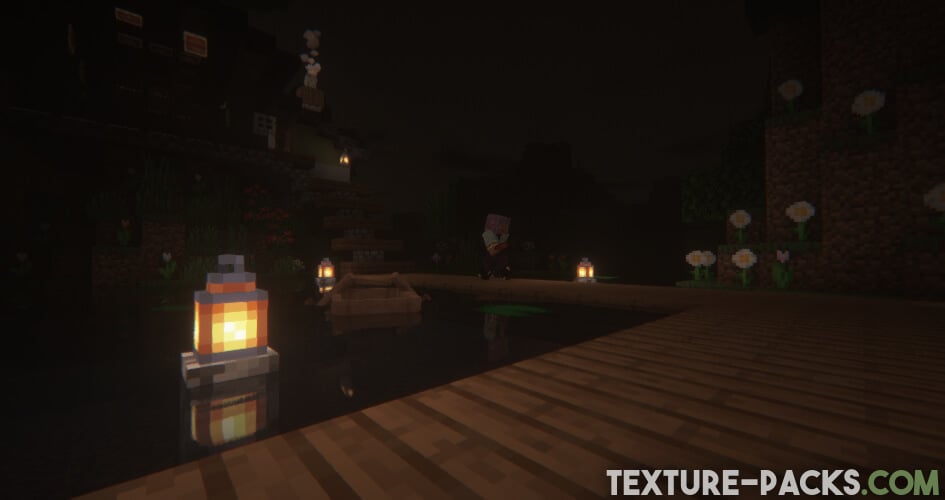
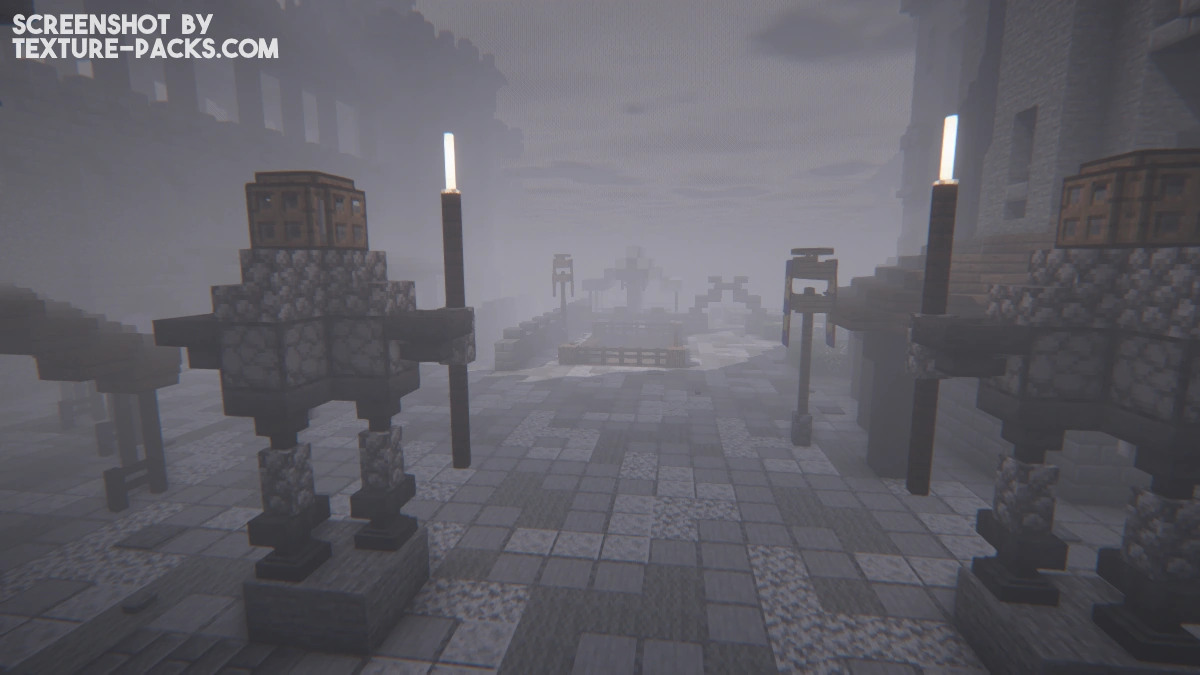
Villages under the Insanity shaders also undergo a dramatic transformation. What once were safe havens for players to trade with villagers now appear as ghost towns, with gloomy shadows and lighting effects. This change not only affects the Minecraft gameplay but also your emotional commitment, as each exploration feels like a step into the unknown.
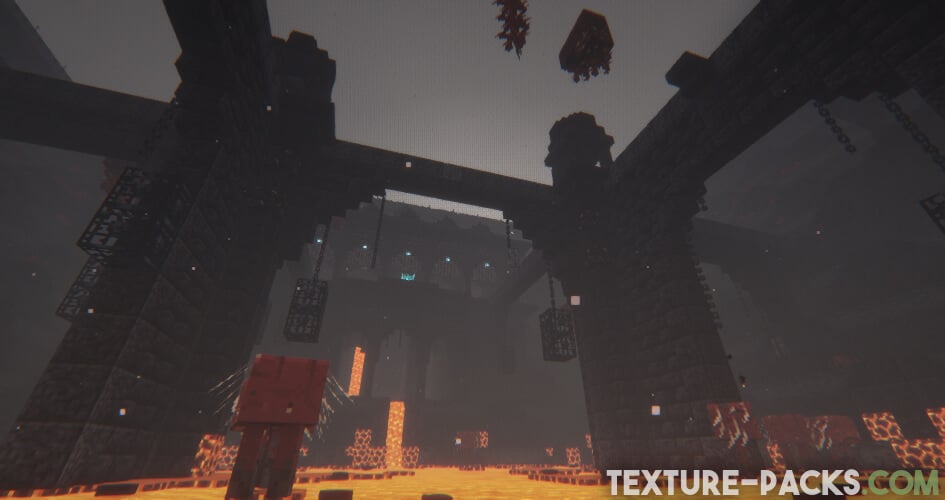
Moreover, the shaders’ impact on different structures, such as caves, abandoned mineshafts, and fortresses, intensifies the sense of danger. The play of light and shadow makes these environments more daunting, requiring you to be more vigilant and strategic in your approach to mining under the earth’s surface.
Performance Impact
While the shader effects of the Insanity resource pack are undeniably impressive, they do come with a performance cost. In certain areas, frame rates can dip significantly, impacting your in-game FPS. However, this shader is designed to run on a wide range of graphics cards, including integrated GPUs, making it accessible even to gamers with potato PCs. The performance impact is a consideration, but for many gamers, the trade-off is worth the new features.
Tips to Increase FPS
To mitigate some of the performance issues and eye strain caused by the darker visuals, we recommend adjusting the brightness settings of your monitor. Lowering the brightness can help reduce eye strain, making for a more comfortable Minecraft session. Furthermore, consider experimenting with the shader settings within the video settings. Fine-tuning these can significantly increase your FPS with the Insanity shaders. Learn more about that in the next section.
Shader Configurations
Before diving into the intricacies of adjusting the Insanity shaders settings yourself, consider starting with the built-in profiles. By default, the “Balanced” profile is activated, offering a harmonious blend of performance and new features. However, for those seeking different visuals or performance optimizations, additional profiles like “Quality”, “Cinematic”, “Best Performance”, and “Performance” are available at your fingertips. These presets serve as an excellent foundation, catering to a wide range of preferences and system capabilities.
Overview:
- Best Performance: Lowest shadows, less lighting quality in general, and no water block reflections
- Performance: Low-resolution shadows, better lighting quality
- Balanced: Balanced shadows, with water reflections
- Quality: Balanced shadows with ambient occlusion and light shafts
- Cinematic: High-resolution shadows with ambient occlusion and light shaft
Once you’ve selected a profile, you’re not confined to its parameters. Insanity shaders empower you to fine-tune further. From adjusting the water quality, animations, and curvature to tweaking materials and reflections, the control is yours. The customization doesn’t end there; myriad other options await, inviting you to explore and modify to your heart’s content. So, download the pack, select a profile as your starting point, and start playing with this horror shader. It’s the best Halloween-themed shader pack!
Video & Screenshots
Comparison
Use our comparison tool to compare the Minecraft default pack with Insanity.

How To Install Insanity Shaders
Here’s a tutorial on installing Insanity in Minecraft Java Edition.
- Download the Insanity shaders for Minecraft from the file section below. Pick the file that matches your Minecraft edition and version.
- Install Iris or OptiFine. The Iris mod is recommended for better performance with higher FPS.
- Open the Minecraft launcher, and choose the Iris or OptiFine profile you just made.
- Launch Minecraft.
- For Iris: Go to "Options", then "Video Settings", and select "Shader Packs". Next, click on "Open Shader Pack Folder" to access the shaderpacks folder. For OptiFine: Navigate to "Options", then "Video Settings", and click on "Shaders." Afterward, click on "Shaders Folder" to open the shaderpacks folder.
- Move the downloaded ZIP file into this folder (.minecraft\shaderpacks).
- In the game, choose the newly installed pack from the shaders list. If you select a shader pack using Iris, its filename will turn yellow.
- Click "Done" or "Apply" and all new features have been loaded.
Insanity Shaders Download
[26.x – 1.21.x] Download Insanity Shaders
[1.20.x] Download Insanity Shaders
[1.19.x] Download Insanity Shaders
[1.18.x – 1.7.x] Download Insanity Shaders

I like it!
Hello, that’s wonderful
Wow might use this in my next vid