Ever since Minecraft was released, players have been customizing it to the point where it feels like a completely different game. Minecraft is basically a playground for modders, and they can change anything they want. That freedom is exactly why Minecraft has been so successful, because you can shape the game entirely to fit your own style. You do not even need programming skills, since the number of free graphics mods is huge. One of the most exciting ones is the Body Camera shader, which makes Minecraft look like footage from a police bodycam. You might have seen this in videos online. It does not just look cool, it is also perfect for roleplay. If you are playing on a server with friends and act as a cop, this shader helps you dive into your role much more easily. Or maybe you want to recreate an action movie. The possibilities are endless. Just remember that this is not a resource pack, since it does not change any textures.
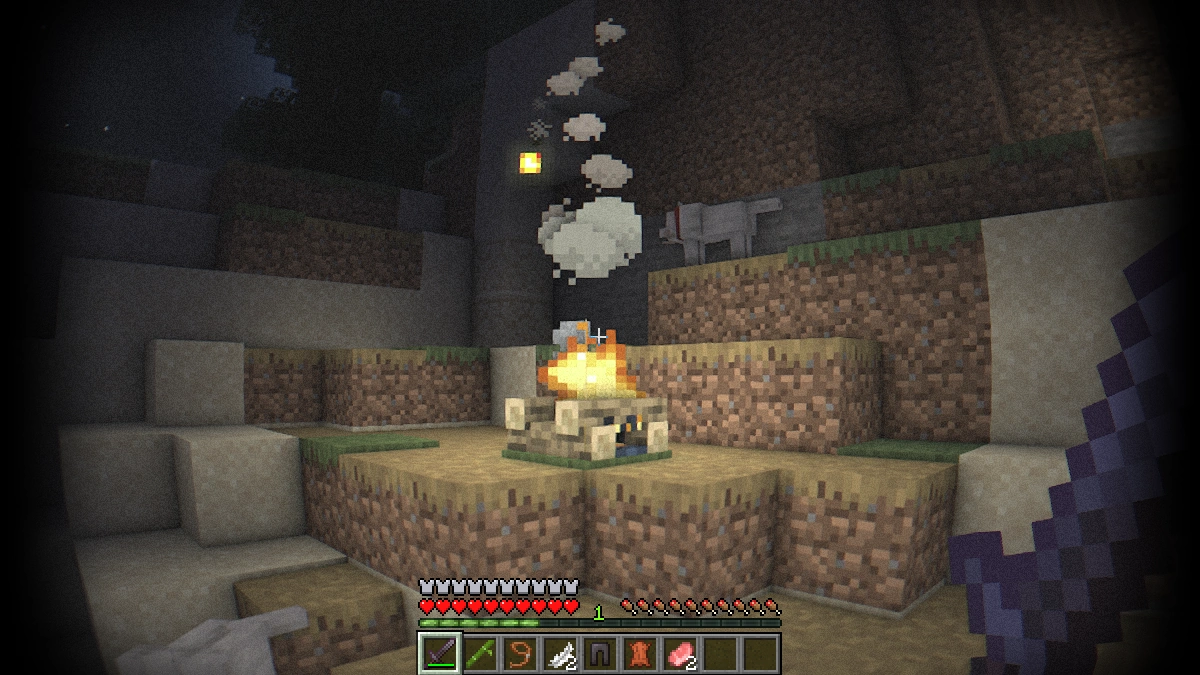
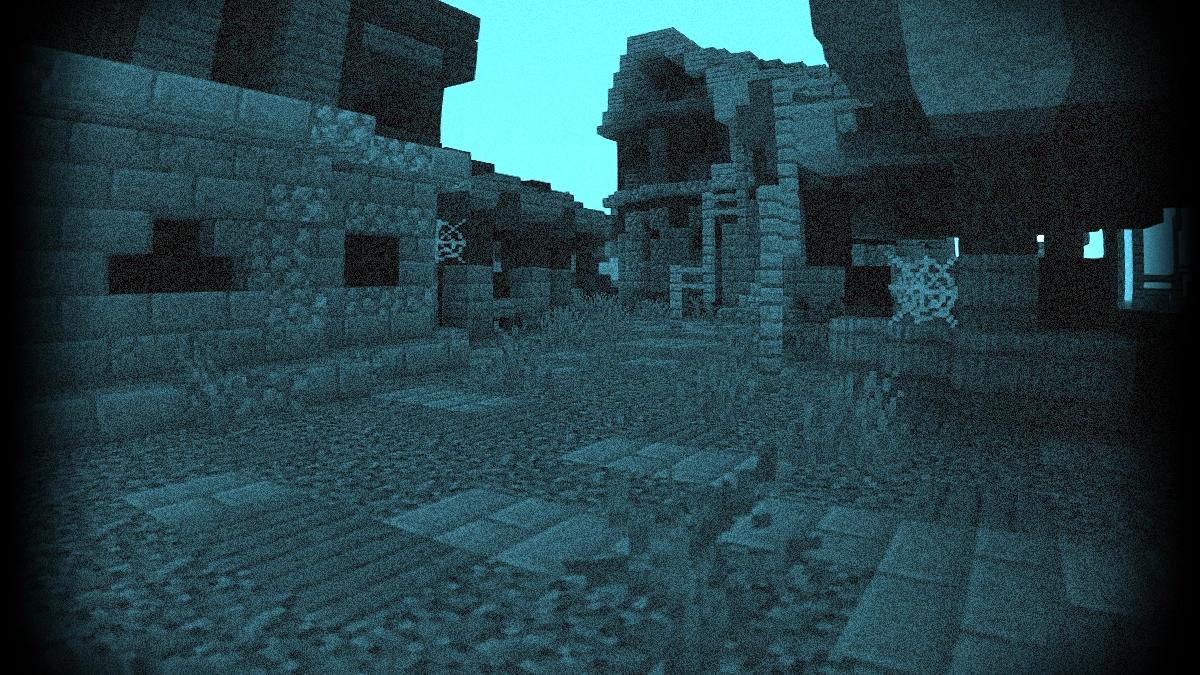
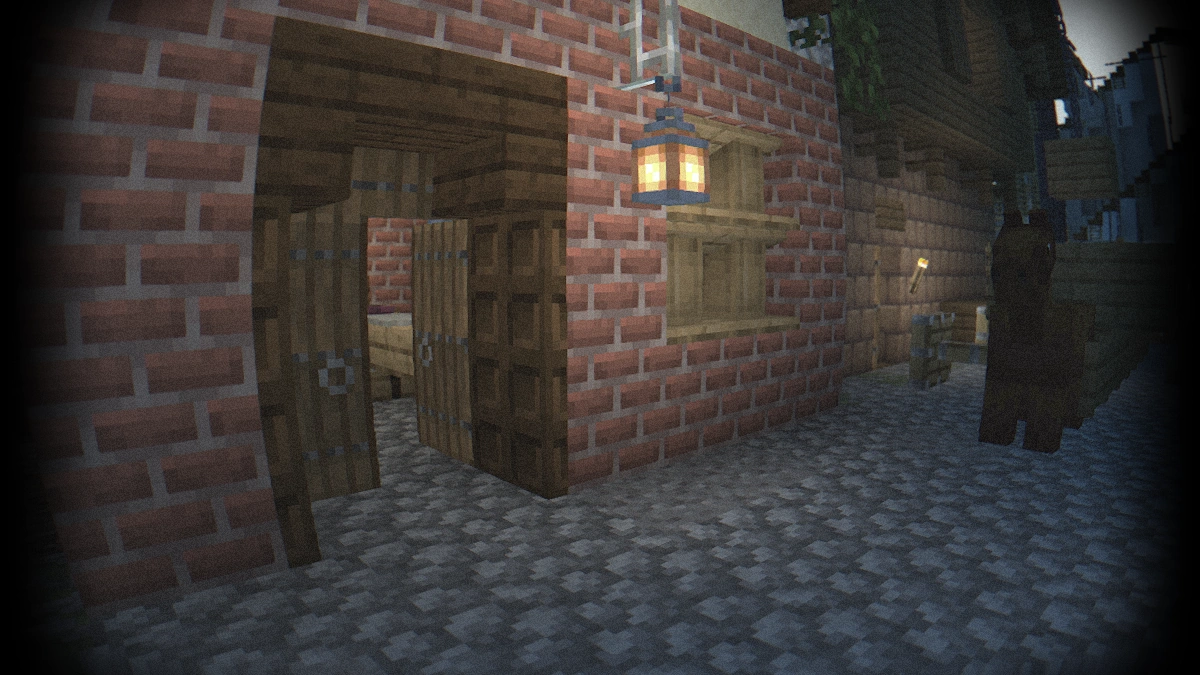
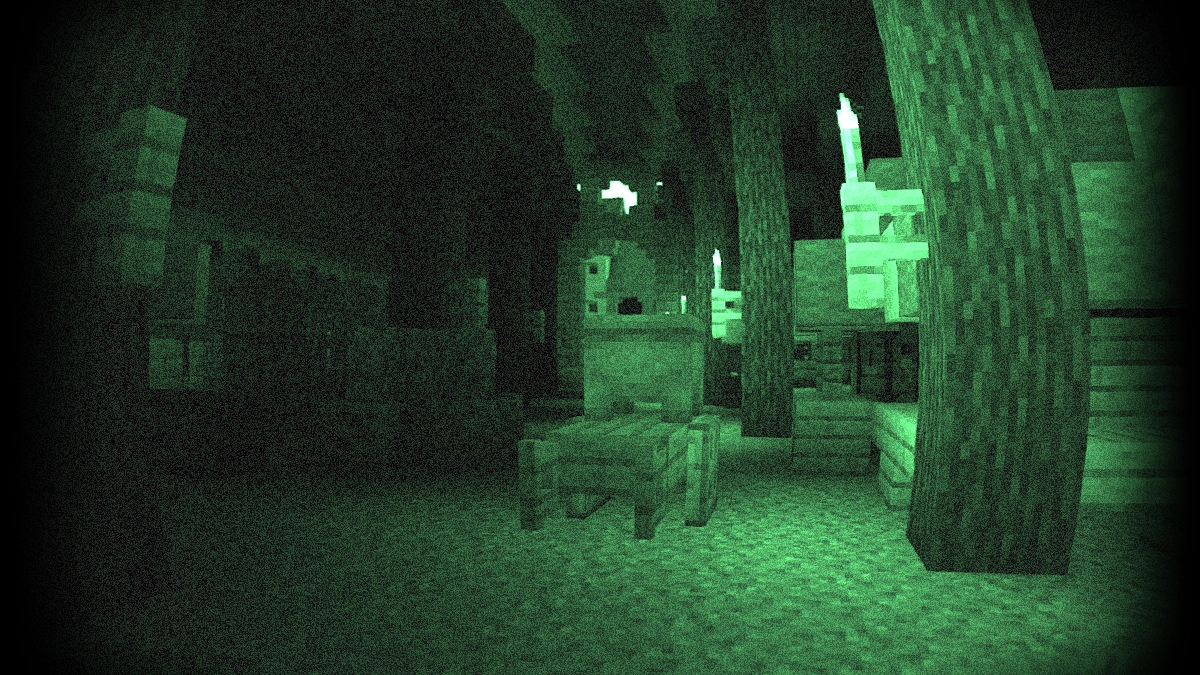
The first thing you notice is the heavy fisheye effect. This feature was added on purpose to make it look like a real body camera. The image is slightly distorted to simulate a wide-angle lens at chest height. At the same time it makes the Minecraft world look creepier and more unsettling than usual. Turn your footsteps up to full volume and it starts to feel more like a horror game than the family-friendly Minecraft you are used to. If you want to push the scary vibe even further, try downloading the Asphyxious or BloodCraft texture pack. Both are well known in the community and are a great match for the bodycam effect.
Another big plus is the built-in night vision goggles, so you no longer need fullbright or any night vision texture pack. Whether you are in the dark, exploring caves, or wandering through the nether, you can see everything clearly without extra mods. The difference is that regular texture packs simply set brightness to one hundred percent. With the Bodycam shader, the night vision is tinted green or blue, which feels more authentic while still being practical for night adventures. If you would rather play without these benefits, you can just switch the feature off.
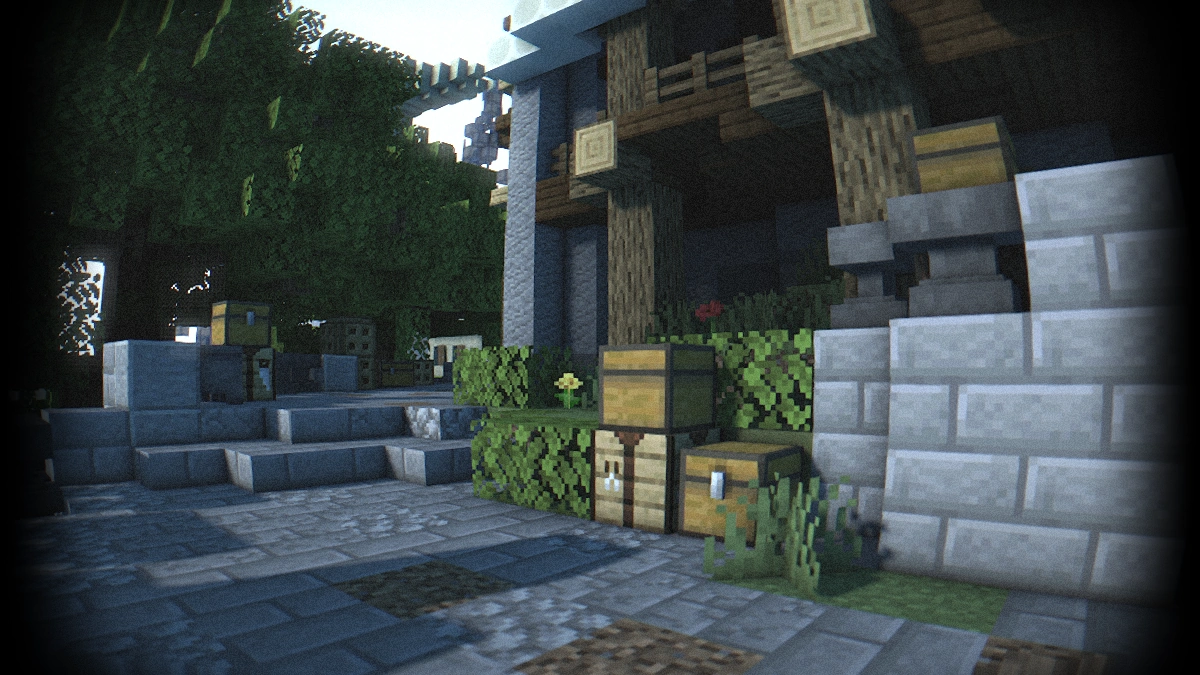
One more highlight is its support for the Distant Horizons mod. This mod massively increases render distance in the Java Edition. The world feels far more realistic since you can actually see all the way to the horizon, almost like in real life. Many other mods and even full modpacks are compatible as well. The shader really shines when combined with gun mods, since that makes it feel like a first-person shooter. On top of that, the shader pack supports three languages: English, Russian, and French.
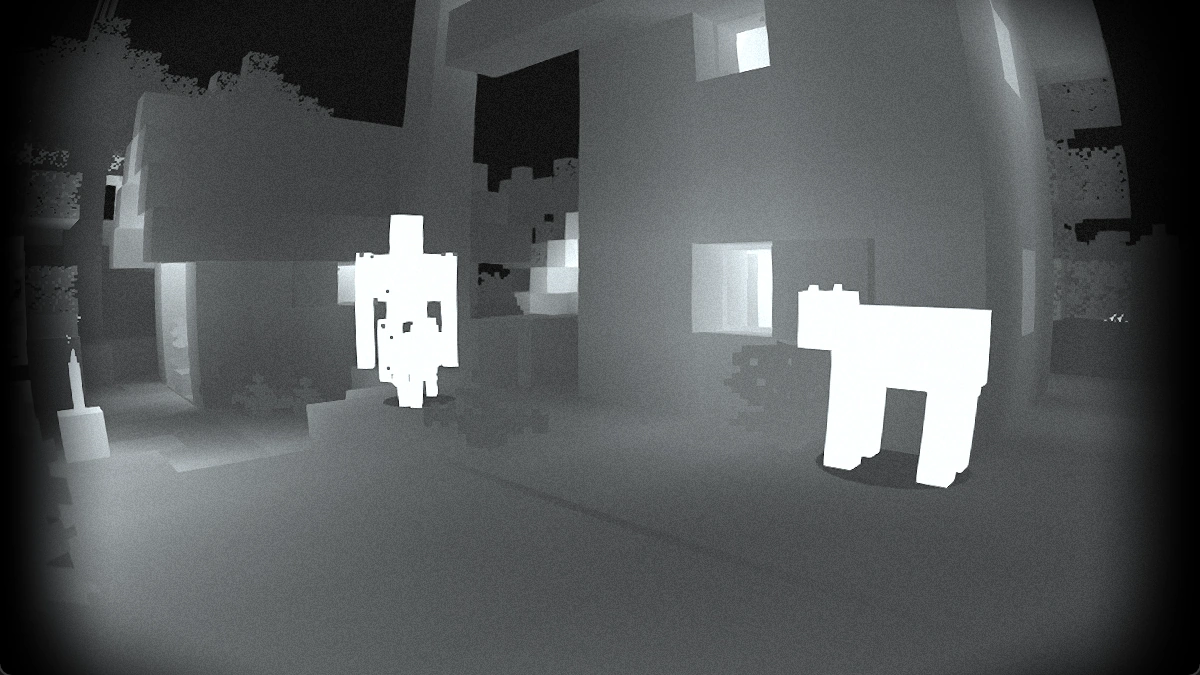
There are also extra features like thermal vision and depth of field. Thermal vision highlights certain objects and helps you track mobs. Depth of field focuses your attention on specific points, almost as if you are filming Minecraft with a professional camera. These are the kinds of features you would expect from a real police camera. Of course they are fun to try, but they are not very practical for everyday survival gameplay. The strong fisheye and black borders can get distracting if you want to play normally. For a smoother experience we recommend shaders like BSL, Derivative, or Chocapic13, which make Minecraft look amazing and realistic. The Body Camera shader, on the other hand, is made for special situations where you want your gameplay to look like a shooter or a military mission.
Finally, it should be mentioned that the creator LoLip_p knows that a lot of players would love a Bedrock Edition version. Unfortunately, the Body Camera mod is only available for Java Edition. Bedrock has serious limitations when it comes to shaders, which is why effects like lens distortion or other unique features cannot be replicated there. Maybe this will change someday, and MCPE players will be able to enjoy the same add-ons as PC players. Whether it can run as smoothly as it does on a computer is another question. On average hardware, the bodycam shader already runs well and stays fluid. The best way to see what it can do is to download it now and try it out yourself.
Video & Screenshots
Comparison
Use our comparison tool to compare the Minecraft default pack with Body Camera.


How To Install Body Camera Shaders
Here’s a tutorial on installing Body Camera in Minecraft Java Edition.
- Download the Body Camera shaders for Minecraft from the file section below. Pick the file that matches your Minecraft edition and version.
- Install Iris or OptiFine. The Iris mod is recommended for better performance with higher FPS.
- Open the Minecraft launcher, and choose the Iris or OptiFine profile you just made.
- Launch Minecraft.
- For Iris: Go to "Options", then "Video Settings", and select "Shader Packs". Next, click on "Open Shader Pack Folder" to access the shaderpacks folder. For OptiFine: Navigate to "Options", then "Video Settings", and click on "Shaders." Afterward, click on "Shaders Folder" to open the shaderpacks folder.
- Move the downloaded ZIP file into this folder (.minecraft\shaderpacks).
- In the game, choose the newly installed pack from the shaders list. If you select a shader pack using Iris, its filename will turn yellow.
- Click "Done" or "Apply" and all new features have been loaded.
Recommended Settings:
- Set Brightness to 0
- Set Field of View (FOV) to 110
Body Camera Shaders Download
[26.2.x – 1.8.x] Download Body Camera Shader

I need a Bedrock version please
I like the packs
I‘m using it on my SMP server